
How to Make a Folklorico Flower Hairpiece Fast

How many of you have to make your own folklorico hairpieces (aka "tocados") yourself?
I know I always have! I have been making my own hairpieces since I began dancing as a child. There were times when I had no clue what in the world I was doing when creating certain hairpieces, but now, after making hundreds of hairpieces for myself and my dance company, I can honestly say that I am a "FOLKLORICO TOCADO EXPERT." It only took me about 20 years to learn the trade, including hundreds of hot glue gun burns and countless messed up manicures.
Because I know how difficult and time consuming making a hairpiece can be, I would like to help you avoid some of the hassle. The hairpiece that I made below is the "tocado" that my company will be using to dance Veracruz Sotavento this season. It can also be used to dance other regions such as Colima, Costa, Nayarit, etc.
Now, without further a do, here is "How to Make a Folklorico Flower Hairpiece Fast."
What you will need:
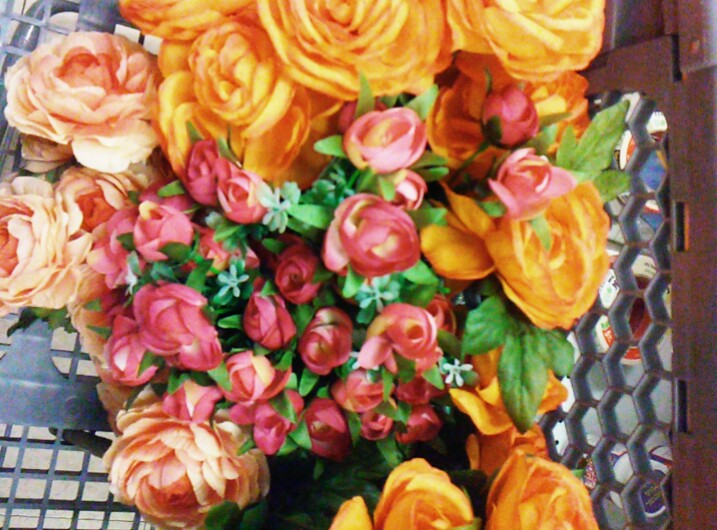
1. ) Synthetic flowers of your choice. I usually buy them at Joann's because they have really pretty flowers that are high quality and last longer. I use roses because they are the flowers that should be used when dancing Veracruz Sotavento. Ladies wear 1-2 roses on the left side if they are single and on the right side if they are married. I will be showing you how to make a hairpiece for all the single ladies!
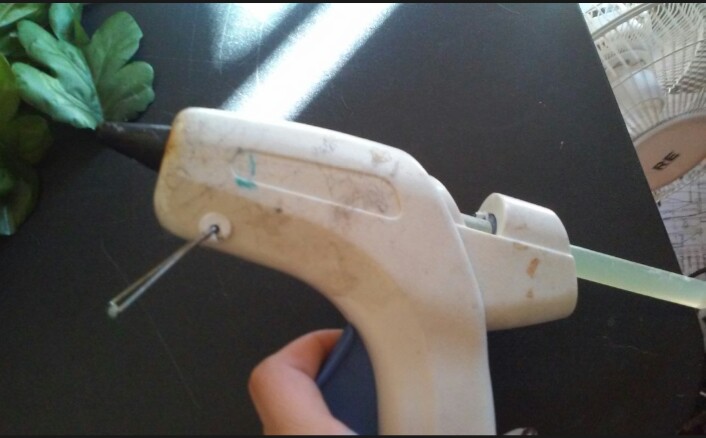
2.) Hot glue gun. Make sure that you are very careful when using this gun because I guarantee that you will burn yourself if you're not.
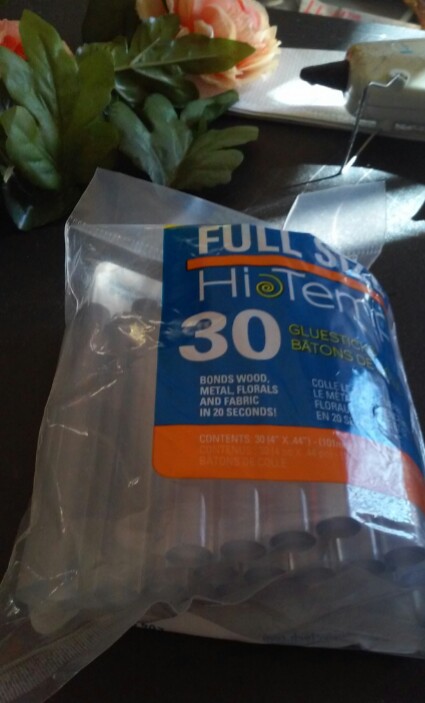
3.) Hot glue sticks. You will need about two large glue sticks if you use a large glue gun, and about double the amount if you use a small glue gun.
4.) Metal hair clips. These are the most secure clips you can use. You only need one large one per hairpiece.

STEP #1 GET ORGANIZED
I always organize only the materials that will be necessary to make one hairpiece and place them in close reach. You don't want to be scrambling around to find what you need when you've already added hot glue to your hairpiece.

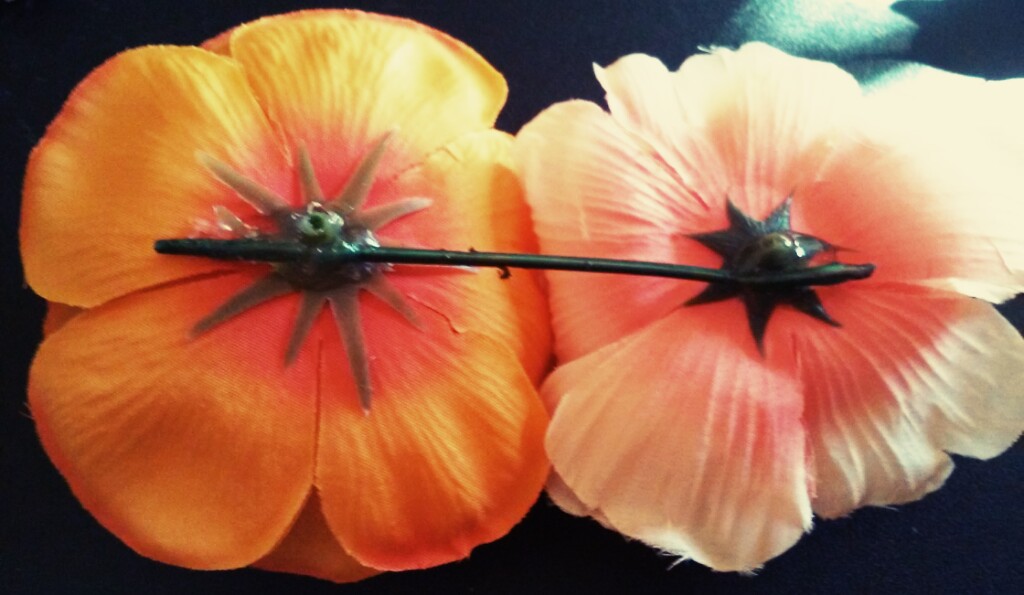
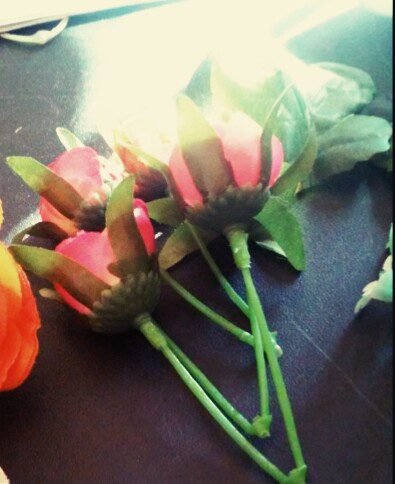
STEP #2 GLUE ROSES ON STEM
Begin by taking your large roses and deciding which rose you want on the top and which one you want closer to the ear. I want the peach rose on top and the orange one closer to the ear, so I am going to glue them that way on the stem. Make sure that you glue both roses on the same side on the stem.
STEP #3 GLUE THE SMALL ROSES TO THE STEM
Glue two of the small roses to the side of my hairpiece between the two roses. I want them to show on the outside of the hairpiece so I glued them that way.


STEP #4 GLUE THE GREENERY TO THE STEM
I always glue some greenery to the arrangement to make it look more full. In this case I added some greenery at the top of the hairpiece to make it looked balanced and give it a little character.

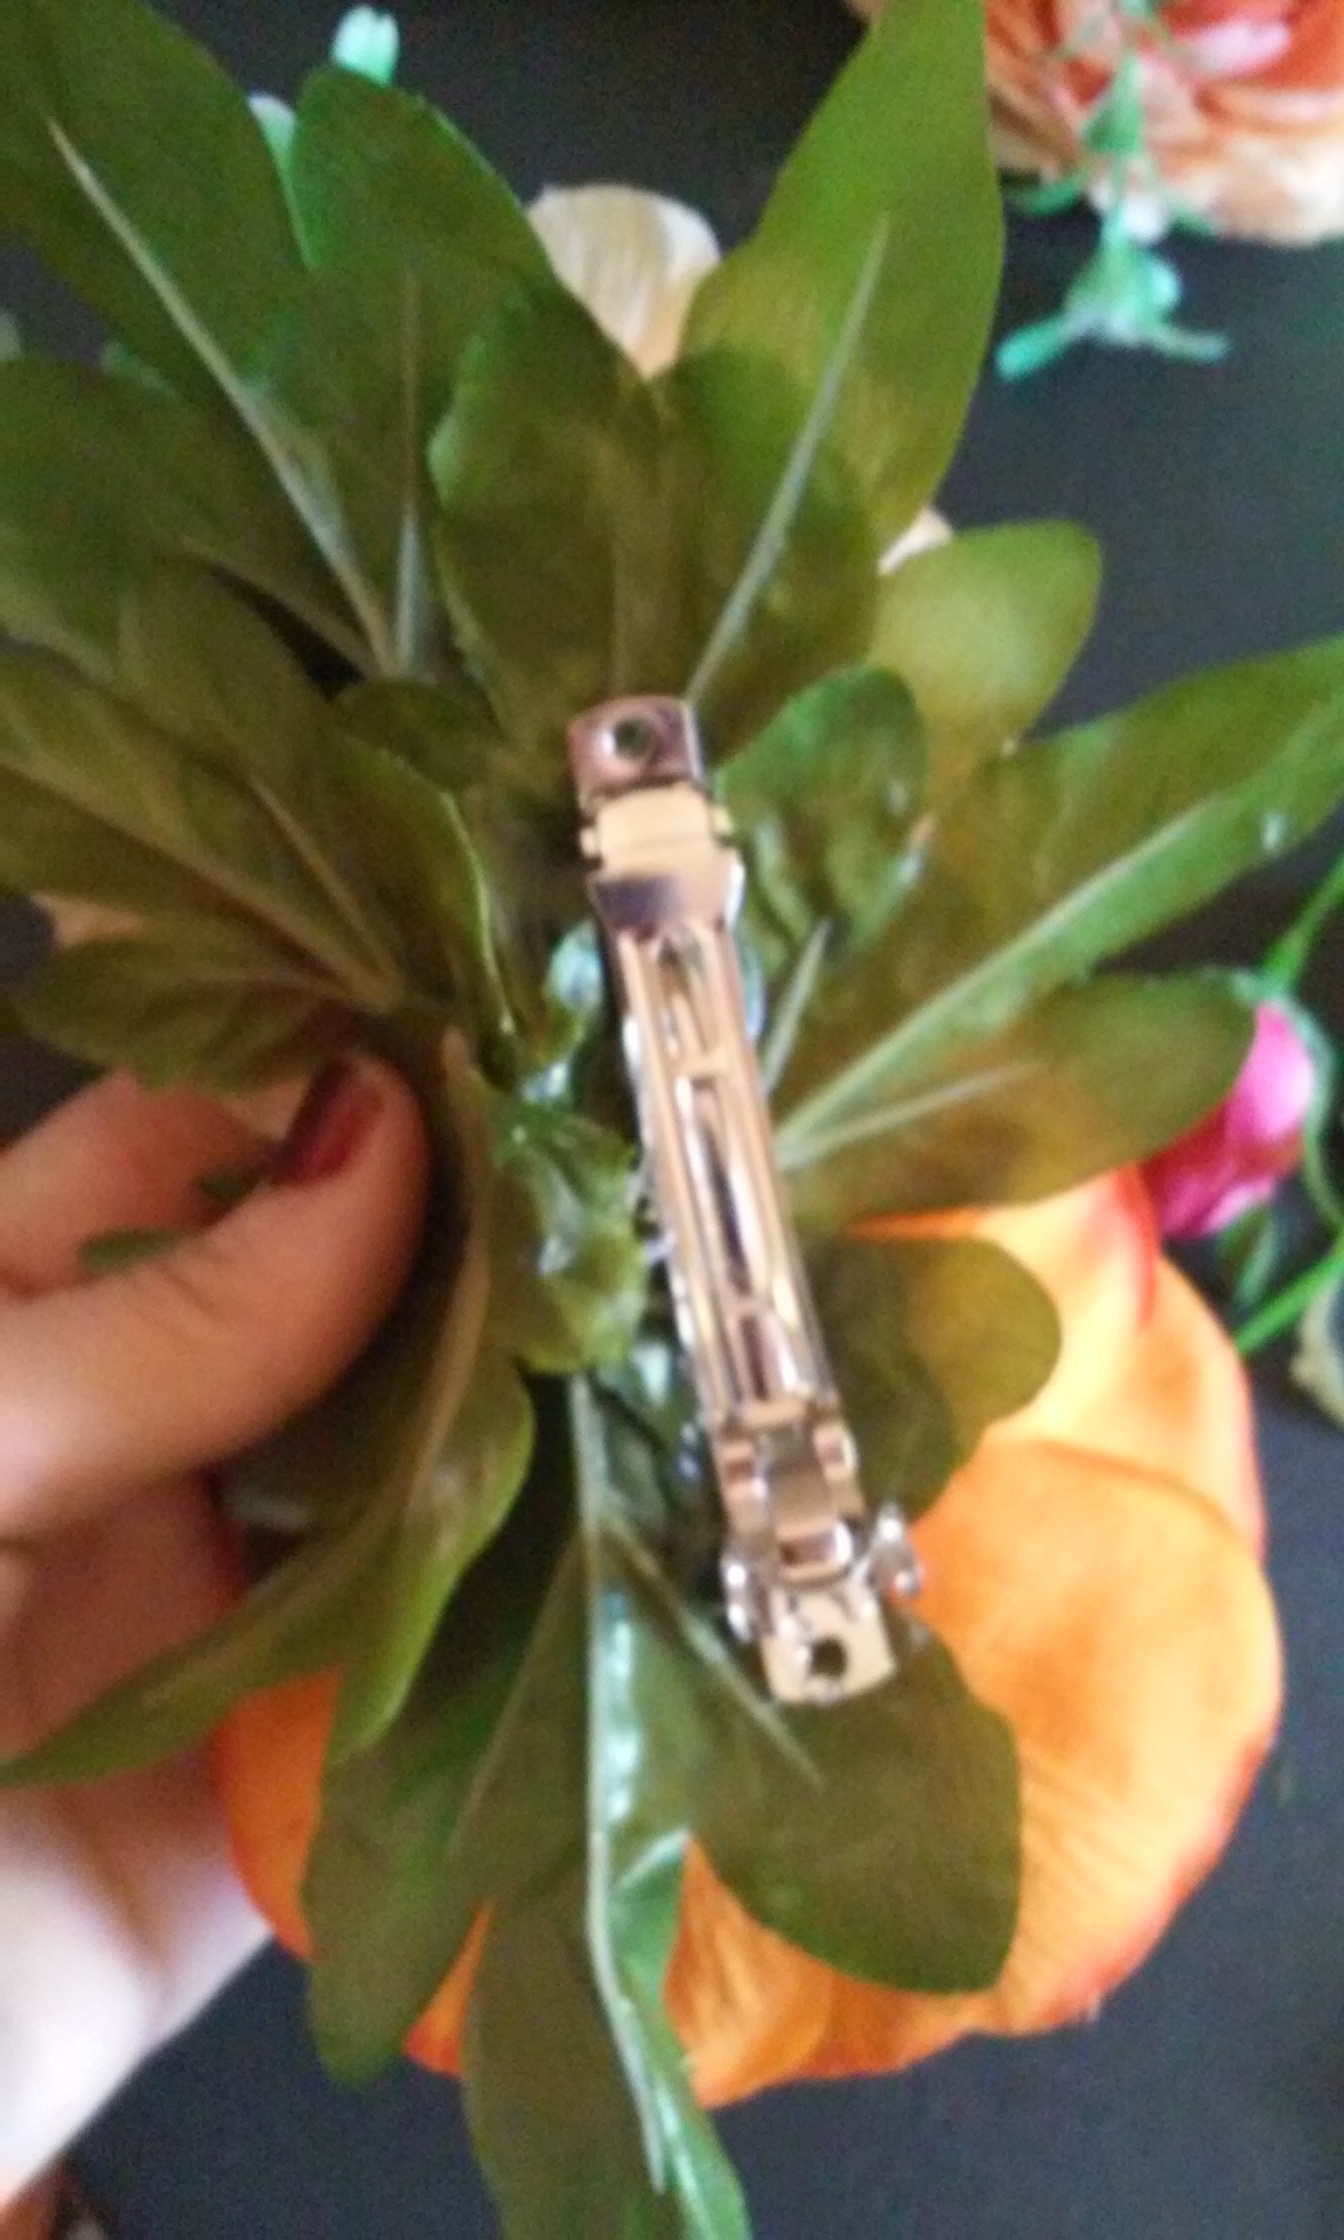
STEP #5 COVER UP WITH LEAVES
Next you will need to coverup the backside of the arrangement with leaves. Coverup the stem, glue and all the imperections like so.


STEP #6 GLUE METAL CLIP TO HAIRPIECE
All you need to do now is glue the metal clip to the hairpiece. Make sure that you glue the part that clips towards the bottom, not the top.
STEP #7 SHOW IT OFF ON STAGE!
Congratulations! You're done! Now it's time to show it off on the big stage.

I hope that you found this blog post helpful. Don't forget to leave your comments below and share with your friends!
If you haven't done so already, check out our previous blog post "20 Fundamental Things You Must Always Have in Your Folklorico Bag."
See you next time!
Maestra Kareli
P.S. Don't forget to subscribe below!